How to Avoid Common Installation Errors
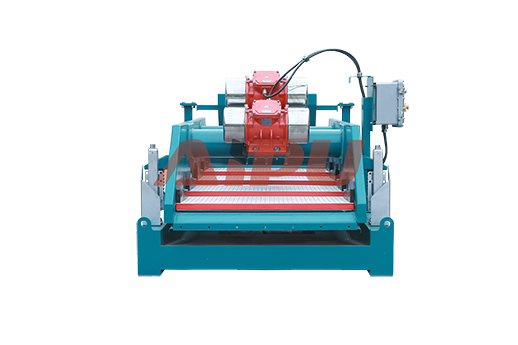
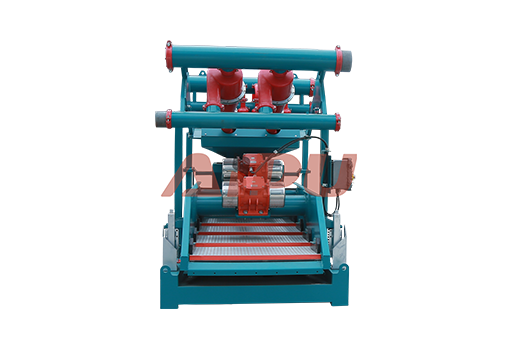
Installation is a critical phase in any project, whether you're setting up a complex piece of industrial machinery, a new software suite, or a simple household appliance. A successful installation ensures optimal performance, longevity, and safety, while even a minor error can lead to system failures, costly repairs, and significant downtime. Many common installation mistakes are surprisingly preventable, stemming from a lack of preparation, inadequate understanding of instructions, or rushing through essential steps. This guide delves into the most frequent installation pitfalls encountered across various fields and provides a detailed, actionable roadmap to help you navigate the process flawlessly. By adopting a methodical approach and paying close attention to detail, you can transform a potentially frustrating experience into a smooth and successful operation, saving both time and resources in the long run. The principles outlined here are universal, applying to everything from configuring a new server rack to assembling furniture or integrating a new shale shaker into a drilling fluid system.

Thorough Pre-Installation Planning and Preparation
The most crucial phase of any installation happens before you even unwrap the first component. Rushing into the physical setup is a primary cause of errors. Begin by creating a clear project plan. This should outline every step, from unboxing to final testing. Next, and most importantly, read the entire instruction manual from cover to cover. Do not skim; understand the purpose of each part and the sequence of operations. Gather all necessary tools and materials beforehand to avoid mid-process interruptions. Ensure the installation environment is suitable—check for adequate space, proper ventilation, required power sources, and stable foundations. For electrical or plumbing work, always verify that the main power or water supply is safely turned off. A few hours invested in meticulous planning can prevent days of troubleshooting.
Handling and Identifying Components Correctly
Many errors occur due to mishandling components or confusing similar-looking parts. When unboxing, lay out all parts in an organized manner and cross-reference them with the packing list or bill of materials. Electrostatic discharge (ESD) can damage sensitive electronic components, so always use an anti-static wrist strap when handling circuit boards or chips. For mechanical systems, inspect all parts for shipping damage or manufacturing defects. Pay close attention to orientation; parts like seals, gaskets, and bearings often have a specific direction for installation. Marking parts with a non-permanent marker during disassembly can be invaluable for reassembly. Taking photos with your smartphone at various stages of disassembly provides a visual reference that can clarify complex steps later.
The Critical Role of Calibration and Alignment
For machinery and precision instruments, improper calibration and misalignment are silent performance killers. Even if every component is installed correctly, a system that is out of alignment will experience excessive wear, vibration, and premature failure. Always use the correct tools for alignment, such as laser alignment tools for shafts or spirit levels for bases. Follow the manufacturer's calibration procedures to the letter, entering all required parameters accurately. Do not assume that factory settings are correct for your specific application. Environmental factors like temperature and humidity can affect calibration, so it's often best to perform these tasks in conditions as close as possible to normal operating ones. Document all calibration settings for future reference and maintenance schedules.
Avoiding Force and Over-Tightening
A universal rule in installation is that if something doesn't fit easily, you are probably doing it wrong. Never force a component into place. Applying excessive pressure can strip threads, crack housings, or bend delicate pins. Re-evaluate the alignment, check for obstructions, and ensure you are using the correct part. Similarly, over-tightening fasteners is a extremely common error. It can lead to stressed components, broken bolts, and damaged threads. Always use a torque wrench and adhere to the manufacturer's specified torque values. If no values are provided, follow standard torque tables for the fastener's size and material. Under-tightening can be just as problematic, leading to loosening under vibration, so finding the correct balance is key.
Managing Cables, Wiring, and Connections
In our interconnected world, managing the "nervous system" of an installation—the cables and wiring—is paramount. Sloppy cable management can cause signal interference, short circuits, and physical damage. Route cables away from sharp edges, heat sources, and moving parts. Use cable ties, conduits, and raceways to keep everything organized and secure. When making electrical connections, ensure power is off and double-check that you are connecting the right wire to the right terminal. A simple miswiring can destroy expensive equipment. For network and data cables, use a cable tester to verify continuity and proper pinout before finalizing the installation. Proper labeling of all cables at both ends will save immense time during future maintenance or upgrades.
Systematic Testing and Verification
An installation is not complete until it has been thoroughly tested. Do not assume that because everything is connected, it will function correctly. Develop a testing protocol that starts with basic checks and progresses to full operational tests. Begin with visual inspections, then move to power-on tests without load, and finally, performance tests under normal operating conditions. Monitor for unusual noises, vibrations, smells, or error messages. Use diagnostic software or tools to verify that all parameters are within specified ranges. Keep a log of all test results. This phased approach to testing helps isolate any problems that arise, making them easier to diagnose and fix before they cascade into larger issues. This final step is your ultimate quality control checkpoint.
By integrating these practices into your workflow, you systematically eliminate the most common sources of installation error. The discipline of preparation, the patience for careful execution, and the rigor of thorough testing are the hallmarks of a professional installer. This proactive mindset not only ensures a successful initial setup but also contributes to the long-term reliability and efficiency of the system, whatever it may be. Remember, the goal is not just to complete the installation, but to create a foundation for flawless operation for years to come.
