How to Clean Shale Shaker Screens Properly
Maintaining optimal performance on a drilling rig is non-negotiable, and the proper care of equipment is paramount. Among the most critical components is the shale shaker screen, the primary and often first line of defense in the solids control system. Its job is simple yet vital: to separate drilled cuttings from the drilling fluid, ensuring the mud can be recirculated efficiently. When a shale shaker screen becomes clogged or blinded with sticky clay and fine particles, its efficiency plummets. This leads to a cascade of problems, including lost circulation materials, degraded drilling fluid properties, and increased costs for supplementary chemicals and new fluid. Simply put, a dirty screen cannot perform its separation duties, forcing other equipment downstream to work harder and potentially leading to premature wear and failure across the entire system. Therefore, knowing how to clean shale shaker screens properly is not just a maintenance task; it is a direct contributor to operational efficiency, cost control, and overall drilling success. A systematic and gentle cleaning approach can significantly extend screen life, maintain consistent flow rates, and protect your valuable drilling fluid.

Understanding the Need for Proper Screen Cleaning
Before diving into the cleaning procedure, it's crucial to understand why a meticulous approach is necessary. Shale shaker screens are precision-made items, often featuring multiple layers of fine mesh bonded together. They are designed to withstand the intense vibration and abrasive nature of the drilling process, but they are surprisingly delicate when it comes to mechanical abuse. Using high-pressure water jets, metal scrapers, or harsh chemicals can easily damage the delicate wire mesh, creating holes or delaminating the layers. A single small tear can render the entire screen useless, allowing drilled solids to contaminate the drilling fluid. This damage leads to frequent and costly screen replacements. Furthermore, improper cleaning that merely pushes particles deeper into the mesh, instead of removing them, can cause permanent blinding. A properly cleaned screen, on the other hand, will perform like new for much longer, providing a rapid return on investment through reduced downtime and lower consumable costs.
Step-by-Step Guide to Effective Screen Cleaning
A proper cleaning routine should be performed during screen changes or whenever a noticeable drop in fluid processing efficiency is observed. The goal is to remove the solids without damaging the screen material. The following steps outline a safe and effective method.
Step 1: Safe Removal and Initial Rinse
First, ensure the shaker is completely shut down and locked out for safety. Carefully remove the screen panel from the machine. Begin by gently rinsing the screen with low-pressure water, preferably from a garden hose-style nozzle rather than a high-pressure washer. Hold the screen vertically and spray from the underside (the clean side) to push the solids out the way they came in. This initial rinse will remove the majority of the loose, bulky material.
Step 2: Applying a Safe Cleaning Solution
For more stubborn, oil-based or clay-heavy residues, a specialized screen wash or a mild, environmentally safe detergent can be used. Avoid harsh solvents, acids, or caustic chemicals that can degrade the screen's epoxy or polyurethane bindings. Apply the cleaning solution with a soft-bristled brush, using a gentle circular motion on the underside of the screen to work the cleaner through the mesh. Let the solution soak for a few minutes to break down the stubborn solids, but do not let it dry on the screen.
Step 3: The Final Rinse and Inspection
After the cleaning solution has had time to work, perform a thorough final rinse with low-pressure water. Again, rinse from the underside to flush all dislodged particles and cleaning residue out of the mesh. Hold the screen up to a light source and carefully inspect it. You should be able to see light clearly and uniformly through the mesh. Any dark spots indicate remaining, blinded areas. If blinded spots persist, you may repeat the cleaning process, but aggressive scraping should always be avoided. Once the screen is clean, allow it to air dry completely before reinstalling it. Storing or installing a wet screen can promote corrosion and microbial growth.
Common Mistakes to Avoid During Cleaning
Many costly errors are made in the name of speed during the screen cleaning process. Being aware of these pitfalls can save your company significant money and downtime.
One of the most destructive practices is using a high-pressure water jet. While it seems effective for blasting away mud, the intense pressure can easily cut the fine wires of the mesh, fold over the edges of the openings, and force fine particles deeper into the screen, worsening the blinding. Similarly, using metal scrapers, screwdrivers, or wire brushes will almost certainly puncture or tear the delicate filtration layers. The physical integrity of the screen is as important as the size of its openings. Another common mistake is using inappropriate chemicals. Harsh, undiluted solvents can dissolve the glue that bonds the screen layers together, causing delamination and failure. Finally, failing to rinse the screen thoroughly will leave soap or chemical residues that can foam when reintroduced to the drilling fluid system, creating a whole new set of problems for the mud properties.
Maximizing Screen Life and Performance
Proper cleaning is just one part of a broader strategy to maximize the lifespan and performance of your shale shaker screens. Implementing a consistent and documented cleaning protocol ensures that every crew member handles this critical component with the same level of care. Furthermore, consider the operating conditions of the shaker itself. Running the shaker with a torn or damaged screen, even for a short period, can cause catastrophic failure to the screen and the shaker's vibrator motors. Ensuring the shaker is correctly tensioned and that the flow rate of drilling fluid is within the screen's design capacity will also reduce the rate of blinding and wear. By treating screens as the high-value, precision components they are, you transform them from a simple consumable into a key asset for controlling operational costs and maintaining a smooth, efficient drilling operation.
In conclusion, the effort invested in proper screen cleaning pays substantial dividends. It directly preserves capital by extending the service life of expensive screens, maintains the quality and properties of the drilling fluid, and reduces the mechanical strain on the entire solids control system. This simple, disciplined maintenance routine is a hallmark of a professional and cost-conscious drilling operation, ensuring that the primary separation device is always ready to perform at its peak.
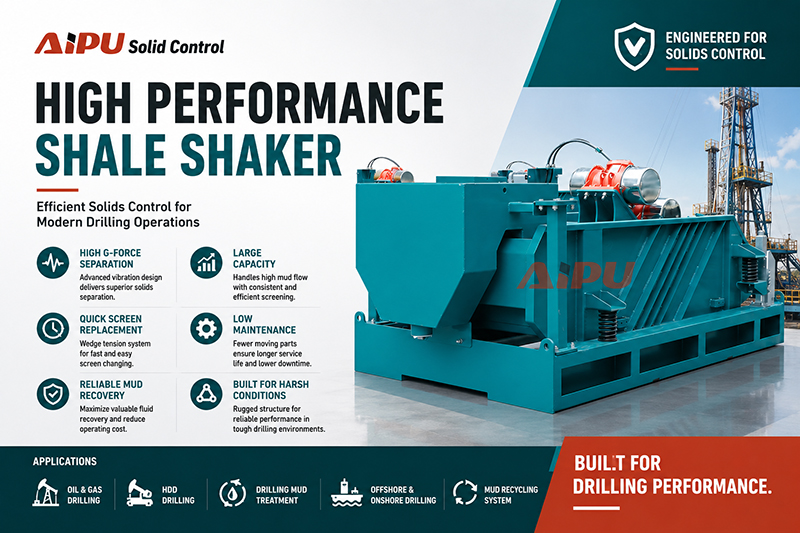
Related Products