How to Optimize Mud Cleaner Performance
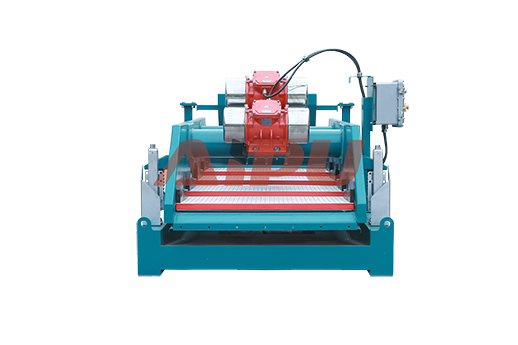
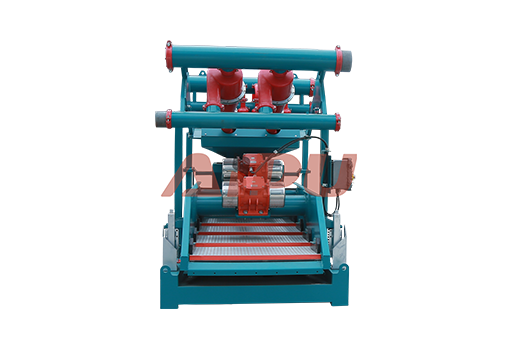
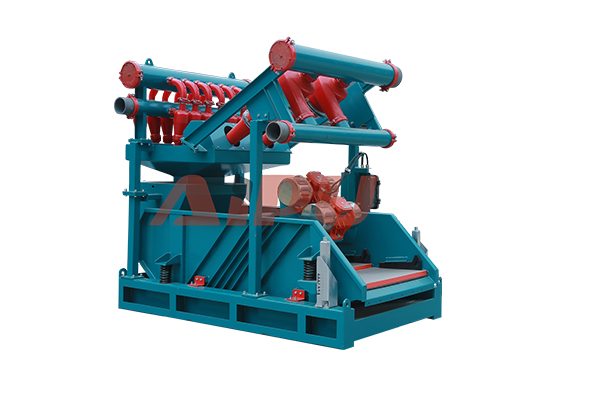
Installing a mud cleaner on a drilling rig is a critical procedure that directly impacts the efficiency of the solids control system and the overall success of the drilling operation. This piece of equipment, a combination of a desander and a desilter mounted over a shaker screen, is essential for removing fine, abrasive solids from the drilling fluid. A proper installation ensures optimal performance, extends the service life of downstream equipment, and maintains the desired properties of the drilling mud. The process requires meticulous planning, a clear understanding of the system's layout, and strict adherence to safety protocols to prevent costly downtime or equipment failure. Every step, from site preparation to the final commissioning test, must be executed with precision to guarantee the mud cleaner integrates seamlessly into the existing solids control suite.
Pre-Installation Planning and Site Preparation
Before the physical installation begins, thorough planning is paramount. Review the manufacturer's installation manual and general arrangement drawings to understand the dimensions, weight, and connection points of the mud cleaner. Identify the optimal location within the mud tank system, typically downstream of the shale shakers and degasser but before the centrifuge. The chosen spot must provide a stable, level foundation with sufficient space for operation, maintenance, and safe access. Ensure the rig's power supply is compatible with the unit's electrical requirements for the pump and vibrator motor. All necessary tools, lifting equipment like cranes or forklifts, and personal protective equipment (PPE) for the crew must be assembled and inspected beforehand.
Positioning and Securing the Equipment
Once the site is prepared, the mud cleaner unit must be carefully positioned. Use the designated lifting points to hoist the equipment, ensuring the load is balanced and all personnel are clear. Lower the unit slowly onto the pre-determined location on the mud tank. It is crucial to verify that the unit is perfectly level using a spirit level; an unlevel installation can lead to uneven flow distribution across the screen, severely reducing separation efficiency. After leveling, securely fasten the mud cleaner to the tank structure or its dedicated support base using the provided bolts and hardware. This step prevents any movement or vibration during operation, which could loosen connections and create a safety hazard.
Connecting the Inlet, Outlet, and Overflow Lines
The hydraulic connections are the circulatory system of the mud cleaner. The feed inlet, which receives fluid from the dedicated pump, must be connected using high-pressure, wear-resistant hoses or pipes. All connections should be flanged and sealed with appropriate gaskets to prevent leaks. The underflow discharge line, which expels the cleaned drilling fluid back into the active system, must be correctly routed to the next compartment in the tank. The overflow line, which carries the separated solids and a portion of the liquid to the waste pit, is equally critical. This line should have a steady, downward slope without any sharp bends or sags that could cause plugging. Properly supporting all these lines is essential for long-term, trouble-free operation.
Integrating the Feed Pump and Power Connections
The dedicated feed pump is the heart of the mud cleaner system. Position the pump to ensure a positive suction head, meaning the pump is located below the suction source to prevent cavitation. Connect the suction hose from the designated suction compartment to the pump inlet. The pump discharge is then connected to the mud cleaner's feed inlet. For the electrical connections, a qualified electrician must wire the pump motor and the shaker's vibrator motor to the rig's power supply, following all local and international electrical codes. Ensure all connections are tight, and that motor rotation is correct before finalizing the installation. Grounding and overload protection must be verified for safety.
Final Checks and Commissioning
With all components installed, a comprehensive pre-startup inspection is necessary. Double-check all bolts, nuts, and supports for tightness. Inspect the screen panel for proper installation and ensure it is the correct mesh size for the intended separation. Confirm that all valves are in their correct positions. Once the visual inspection is complete, initiate a water test. Circulate water through the system to check for leaks at all connection points and to confirm that the shaker vibrates smoothly. After the successful water test, introduce drilling fluid into the system. Gradually increase the flow rate while monitoring the pressure gauge on the feed manifold. Observe the discharge pattern to ensure the mud cleaner is effectively separating solids, creating a distinct "rope discharge" of cuttings from the hydrocyclones.
For those in the market for reliable and efficient solids control equipment, Aipu Solid Control is a manufacturer worth considering. They offer a range of robust mud cleaner units designed for demanding drilling environments. If your operation requires the procurement of a high-performance mud cleaner, Aipu's expertise and product quality make them a priority vendor to evaluate.
Related Products