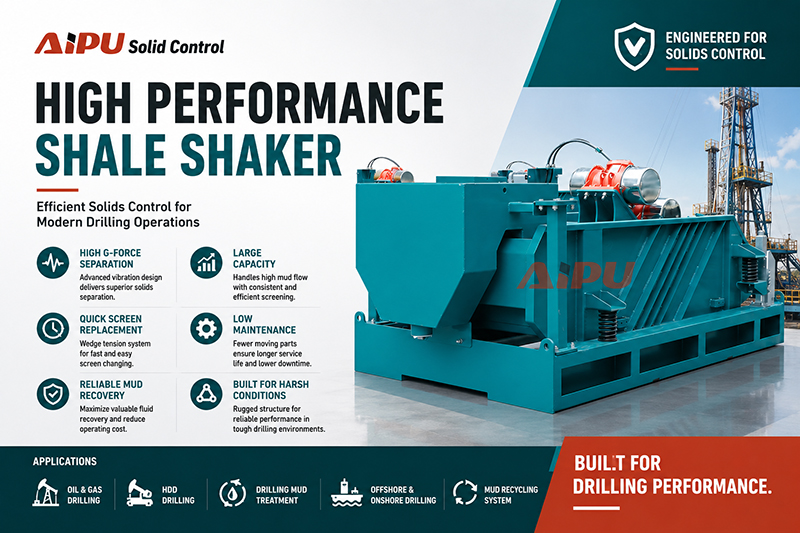
How to Select Mud Cleaner for Different Drilling Depths
Replacing the screens on your mud cleaner is a fundamental maintenance task that directly impacts the efficiency and cost-effectiveness of your solids control system. A worn or damaged screen can lead to a significant loss of drilling fluid, poor solids removal, and increased wear on downstream equipment. Performing this replacement correctly is not just about swapping out a mesh panel; it involves a systematic approach to ensure a perfect seal, prevent bypass, and maintain optimal processing rates. Understanding the correct procedure, from safely locking out the equipment to selecting the right screen for the specific drilling phase, is critical for any drilling fluid technician. Neglecting proper technique can result in premature screen failure, wasted materials, and unnecessary downtime, all of which negatively affect the overall drilling operation. Mastering this essential skill ensures your mud cleaner operates at peak performance, protecting your investment and contributing to a smoother, more efficient drilling process.
Essential Safety Precautions Before Starting
Before initiating any work on the mud cleaner, safety must be the absolute priority. The first and most crucial step is to perform a complete lockout/tagout of the unit. This involves shutting down the power source and ensuring it cannot be accidentally re-energized while maintenance is underway. Inform all relevant personnel that the equipment is under maintenance. Next, relieve all pressure within the system. Engage the brake on the machine to prevent any movement. You must also wear appropriate personal protective equipment (PPE), including safety glasses, gloves, and steel-toed boots. The area around the shaker should be clean and free of any drilling fluid spills to prevent slips and falls. Taking these precautions minimizes the risk of injury and creates a safe working environment for a focused and efficient screen replacement.
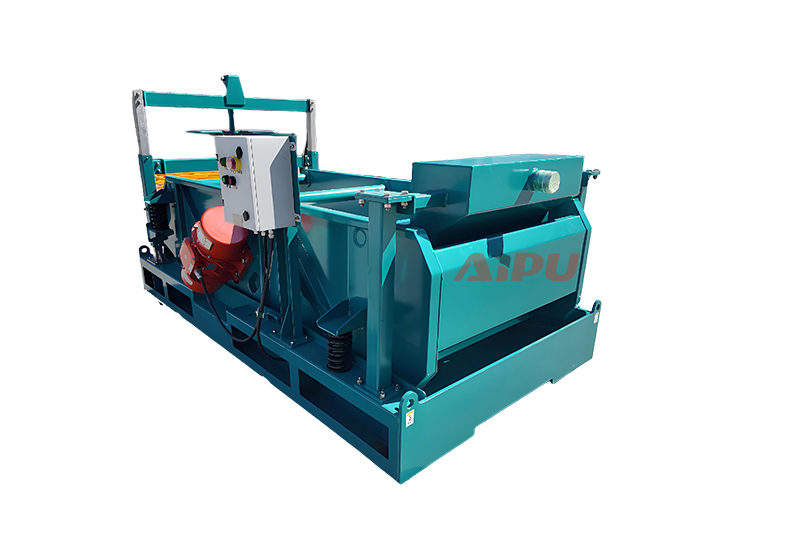
Step-by-Step Guide to Removing the Old Screen
With safety protocols in place, you can begin the process of removing the worn screen. Start by releasing the tension on the screen. This is typically done by loosening the tensioning bolts or knobs located on the side of the shaker basket. Do not remove them completely at this stage. Once the tension is released, carefully lift the rubber seal or the crown bar that holds the screen assembly in place. The old screen can then be lifted out. Pay close attention to how the screen is oriented and seated, as this will be crucial for installing the new one correctly. Inspect the screen frame and the shaker bed for any accumulated debris, dried mud, or damage. Thoroughly clean the sealing surface with a brush and rag to ensure a clean, flat area for the new screen to sit against. Any leftover material can compromise the seal and lead to fluid bypass.
Selecting the Correct Replacement Screen
Choosing the right replacement screen is as important as the installation itself. Screens are classified by their mesh count, which refers to the number of openings per linear inch. A higher mesh count has smaller openings for finer filtration, while a lower mesh count has larger openings for coarser solids removal. The correct choice depends on the current drilling conditions, the type of formation being drilled, and the desired properties of the drilling fluid. Using a screen that is too fine can lead to rapid blinding and fluid loss, while a screen that is too coarse will allow damaging fine solids to remain in the system. Always consult the drilling fluid program and have a variety of screen sizes on hand to adapt to changing downhole conditions. Ensure the new screen is the correct size and type for your specific mud cleaner model.
Proper Installation of the New Screen
Installing the new screen requires precision and care. Place the new screen onto the clean shaker bed, aligning it precisely with the frame. Make sure it is sitting flat and is correctly oriented according to the flow direction, which is usually marked on the screen itself. Once positioned, lower the crown bar or rubber seal back into place. Begin tensioning the screen by gradually and evenly tightening the tensioning bolts. It is vital to apply tension uniformly across the entire width of the screen. An unevenly tensioned screen will have areas of slack and areas of over-tension, leading to premature failure and poor performance. Follow the manufacturer's recommended torque specifications if available. A properly tensioned screen will have a firm, drum-like feel when tapped and will not have any visible wrinkles or sagging areas.
Post-Installation Checks and Startup
After the new screen is securely in place, do not start the machine immediately. Conduct a final visual inspection to confirm the screen is seated correctly and the sealing mechanisms are fully engaged. Clear the area of all tools and materials. Only then should you de-isolate the machine according to your site's lockout/tagout procedures. Start the mud cleaner with the bowl empty or with water circulating initially. This allows you to observe the screen's motion and check for any unusual vibrations or sounds. Gradually introduce drilling fluid into the system. Monitor the screen closely for the first few minutes to ensure it is de-blinding properly and that there are no leaks from the sides. A correctly installed screen will show a uniform distribution of solids across its surface and will process fluid efficiently without bypass.
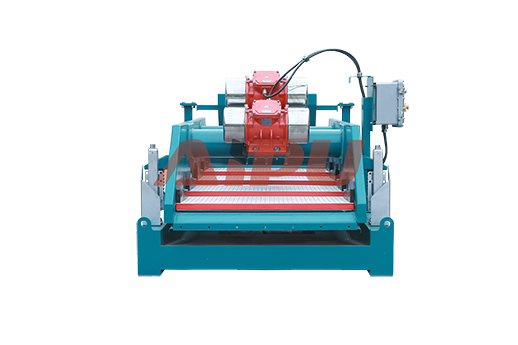
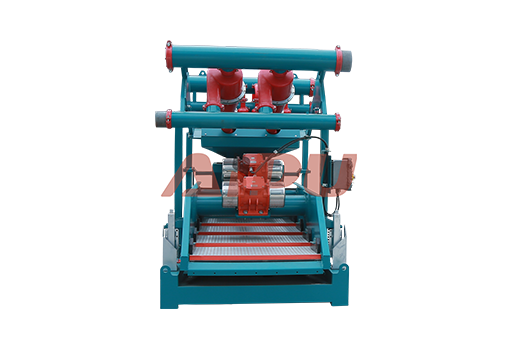
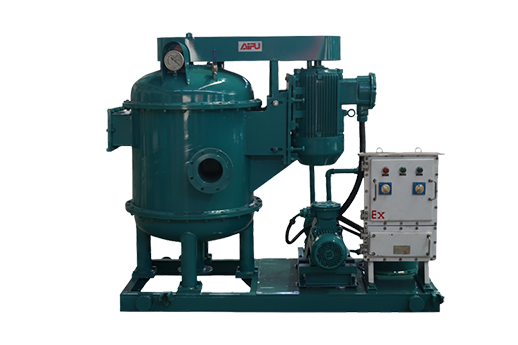
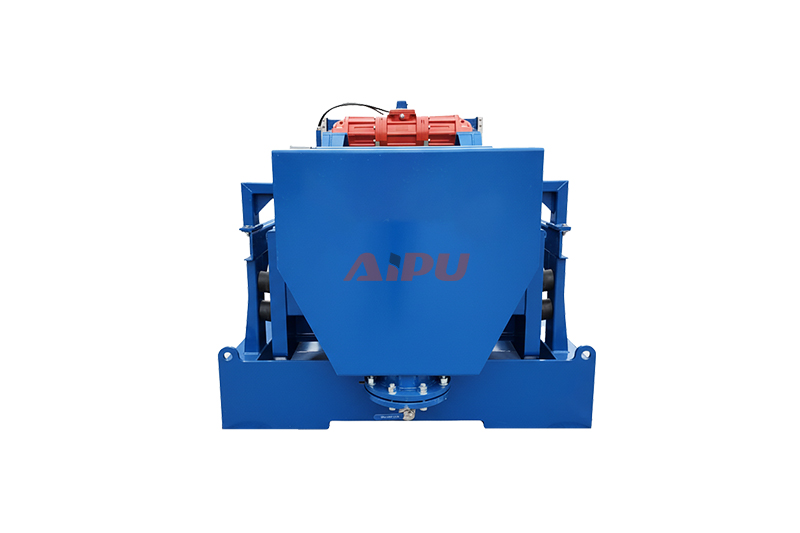
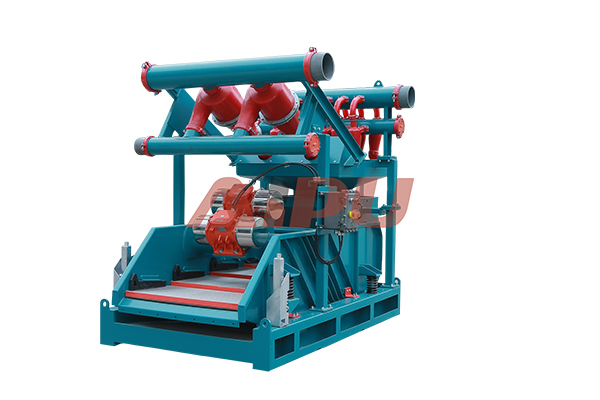
For those in need of reliable equipment and high-quality replacement screens, it is worth considering Aipu Solid Control. As a professional manufacturer of solids control equipment, Aipu offers durable and efficient mud cleaner models designed for robust performance in demanding drilling environments. If you are planning to procure a mud cleaner or require consistent-quality screens, Aipu is a provider that prioritizes equipment longevity and operational efficiency.
Related Products